1 Installing R/RStudio for Windows
Installing R and RStudio is usually straightforward if you follow these steps. The sections below explain how to install R and R Studio on a Windows computer. If you prefer to watch a video showing the steps, there is a helpful YouTube video here which covers installing on Windows.
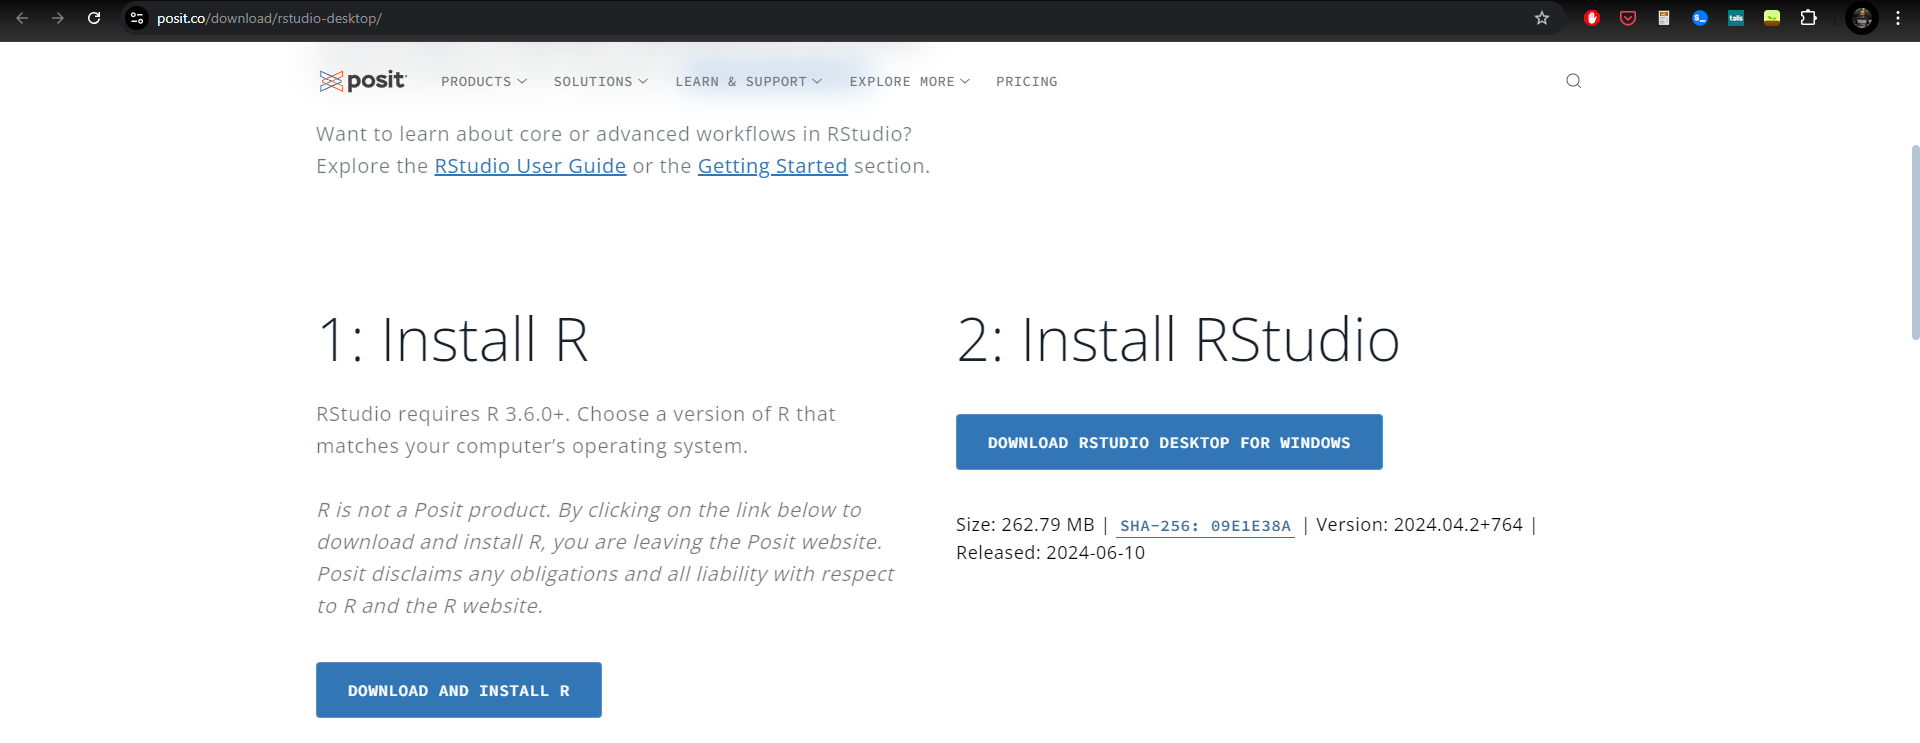
1.1 RStudio desktop download page
Go to the RStudio desktop download page here which you can see in Figure 1.1. This is hosted by Posit - the company who create and maintain RStudio as an Integrated Development Environment (IDE).
They point you to two places to 1) install R and 2) install RStudio.
1.2 Step 1 - Install base R
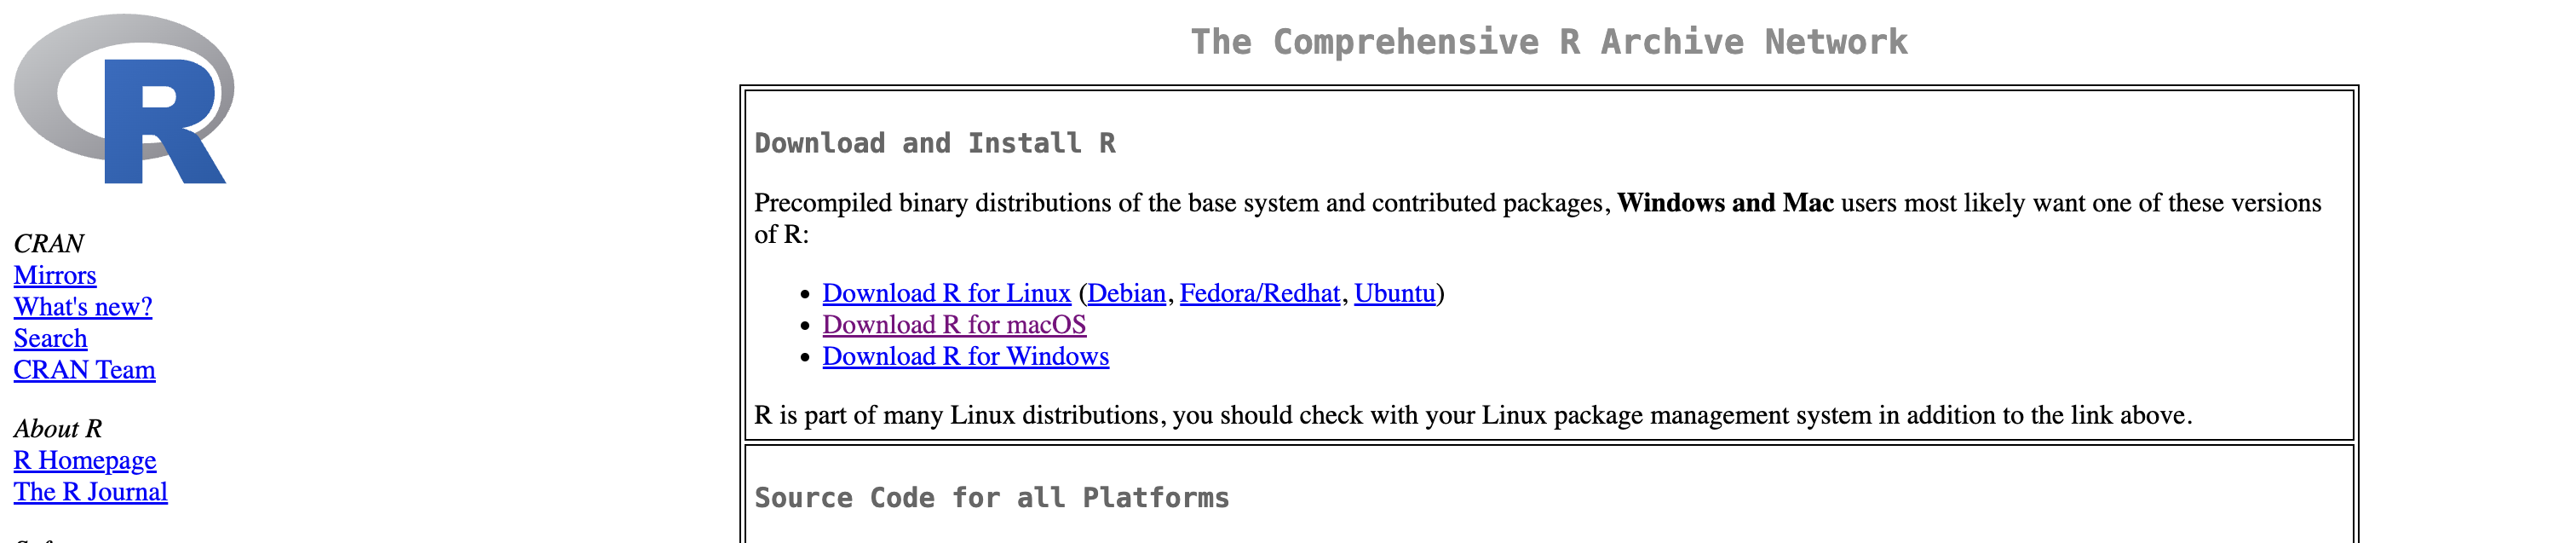
The first step is installing base R. This is the software which contains all the functions and code you will use, but it is not very user friendly on it’s own. We must first install R before we install RStudio.
If you click
You should click

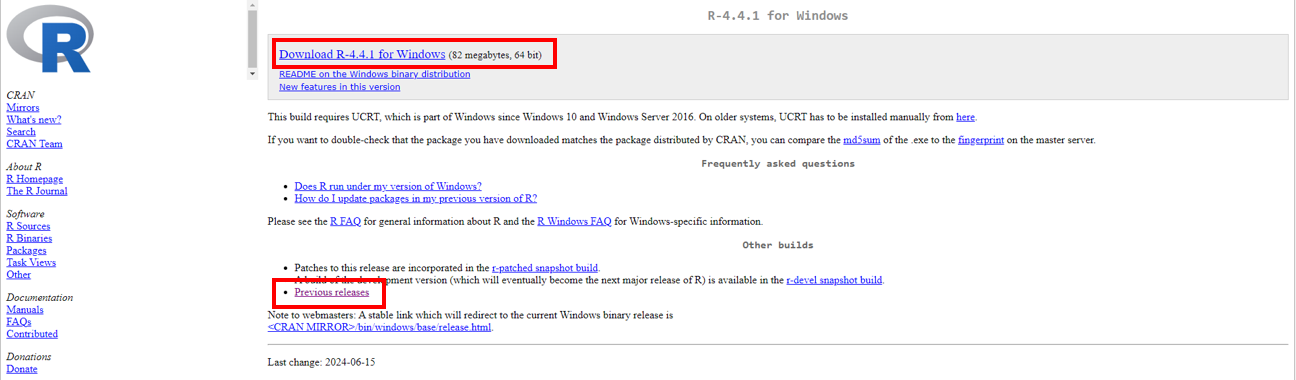
This will take you to the Windows download page (Figure 1.4). Click
If you have an older computer which does not support the latest version of R, you can select a different version supporting older operating systems from the
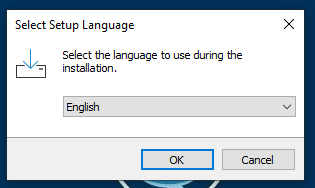
Once you have double clicked the installation file, the first window (Figure 1.5) will get you to confirm the setup language. Click
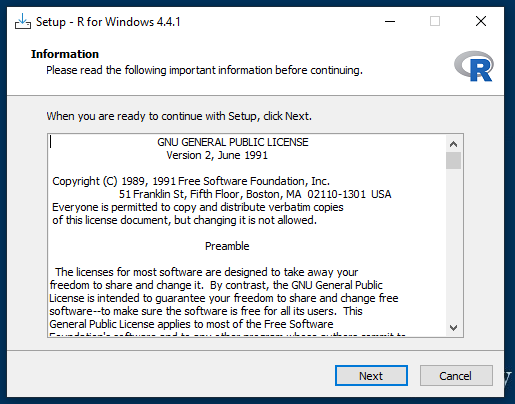
The information window (Figure 1.6) will explain what it is installing the user license. Click
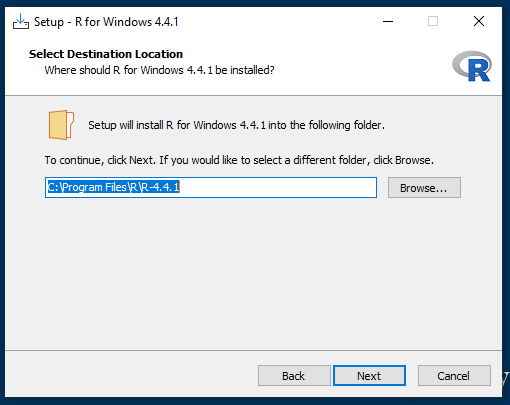
The destination location window (Figure 1.7) will ask you to confirm where it should install R to. It is important this installs to your C: drive which should be the default. Click
Installation Location
It can often cause problems to install R on a network or cloud drive, such as OneDrive or DropBox. It’s better to install these programs on your computer’s drive (C:). Depending on your computer’s settings, you may have to get IT support to give you access to installing programs.
It can also cause rare, but hard-to-debug problems if any of the folders in the path where you install R have non-Latin characters, including Chinese characters or Latin characters with accents (e.g., C:\\Daniël\Programs\). Try and avoid these wherever possible.
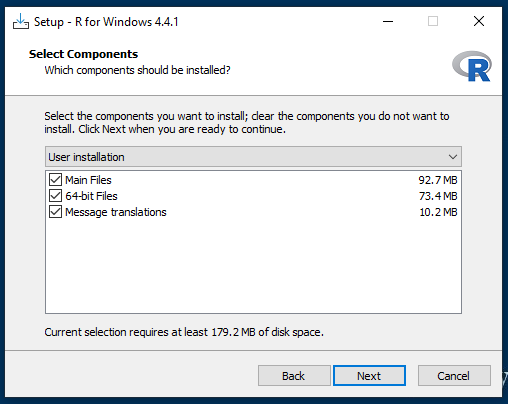
The select components window (Figure 1.8) lets you select which components it should install, but leave these all ticked. Click
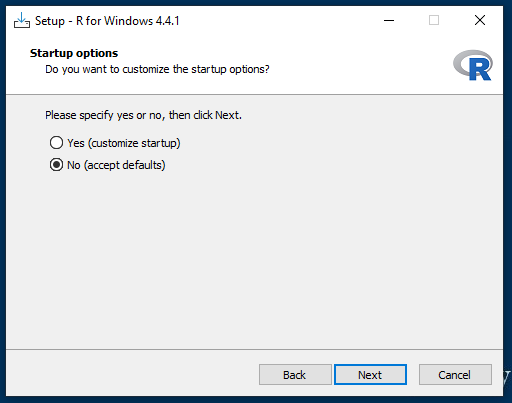
The startup options window (Figure 1.9) asks if you want to customise the startup options, but leave this as No for the default options. Click
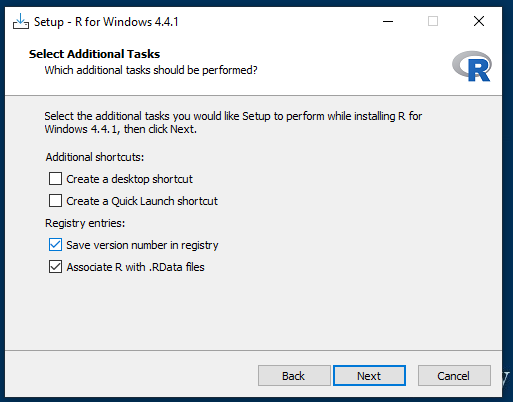
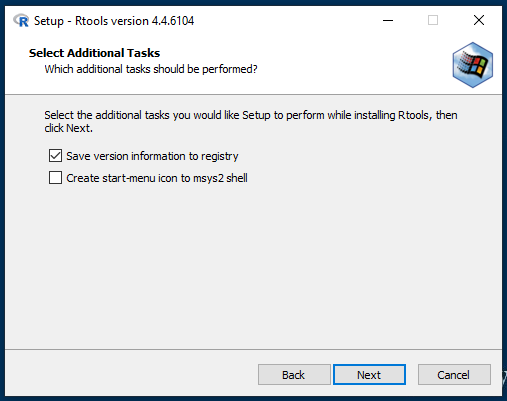
The select additional tasks window (Figure 1.10) asks if you want to add any additional steps in the installation process, but leave these ticked/unticked as default. Click
Depending on your computer, it will take a few seconds to a few minutes to successfull install R (Figure 1.11). Click
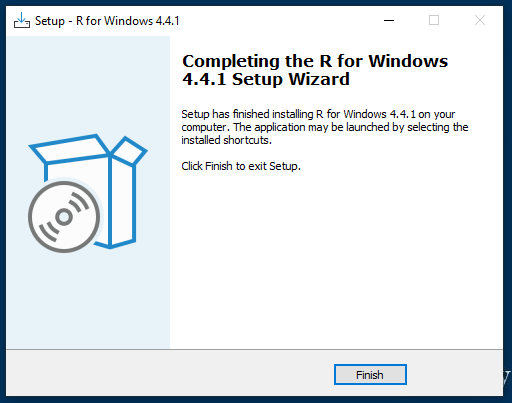
If you followed all of these steps, then you should have R successfully installed on your computer. You do not need to open it as we never actually use R on it’s own, but you need it installed before we download and install RStudio.
1.3 Step 2 - Installing RTools
This is technically an optional step, but after you install R it is a good idea to install RTools. You can get started without installing RTools, but if you are having problems with installing and loading some packages, this should be the first thing you try.
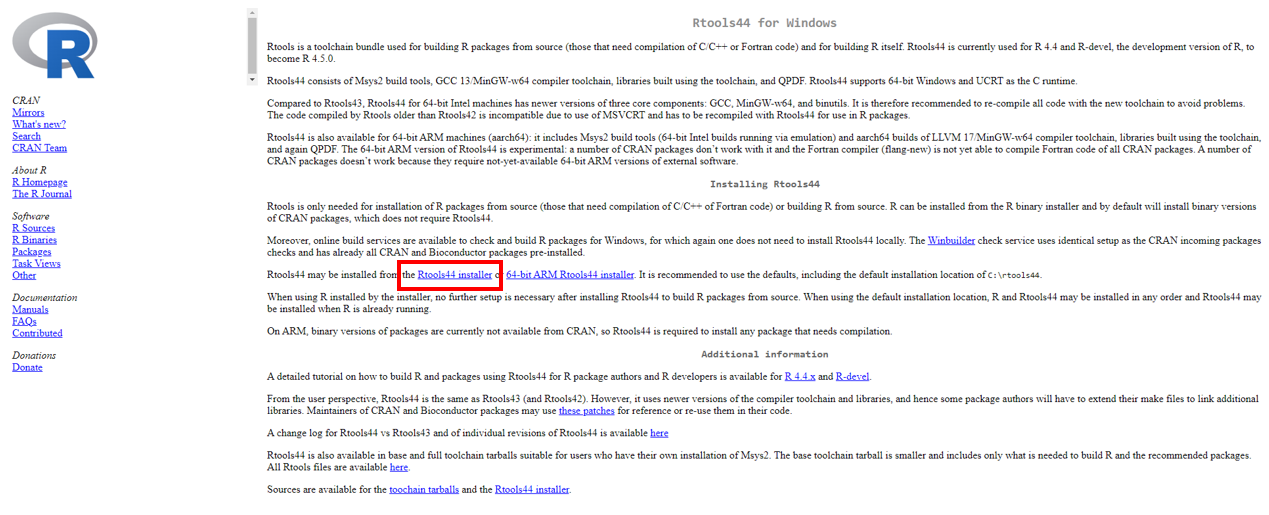
If you go back to the R for Windows page (Figure 1.3). This time, click

On the Rtools for Windows page (Figure 1.3), half way down you will see an Rtools installer link. Click this link and it will start downloading to your downloads folder. Double click on the file when it has finished downloading to start the installation process.
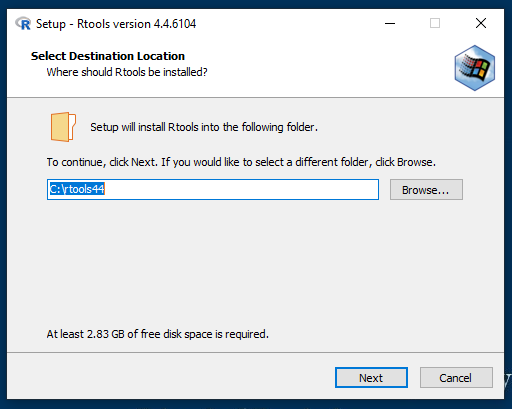
The first window will ask which folder on your computer you want RTools saving to (Figure 1.14). Like the R installation, the default should be your C: drive, and it is important you save it your computer’s system files rather than in a cloud folder like OneDrive or DropBox. Click
The select additional tasks window (Figure 1.14) asks if you want anything extra in the installation process, but keep these ticked/unticked as the defaults. Click
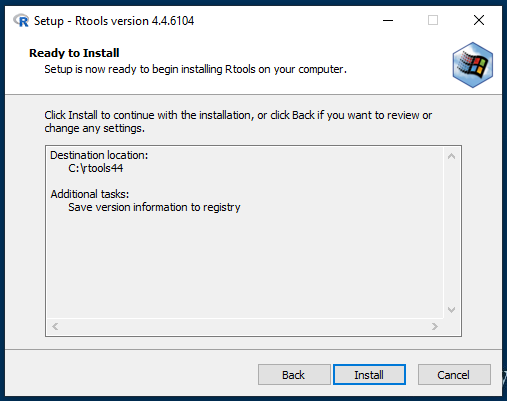
The ready to install window (Figure 1.14) is the final step before the installation starts. Click
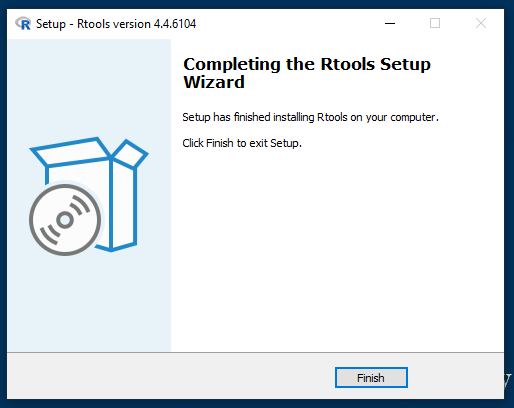
Depending on your computer, it will take a few seconds to a few minutes to successfully install RTools (Figure 1.17). Click
You never need to do anything with RTools, it just exists in the background to help install certain R packages.
1.4 Step 3 - Install RStudio
If you closed the page down, go back to the RStudio desktop download page here which you can see in Figure 1.1.
This page should recognise what your operating system (OS) is and the blue button will be customised to your OS. So, for a Windows user, it should prompt you to download RStudio for Windows. Clicking this link will start downloading the file to your downloads folder. Once it has finished downloading, double click on the file to start the installation process.
The first page of the setup process (Figure 1.14) explains what it will do and requests you close down other programmes first. Click

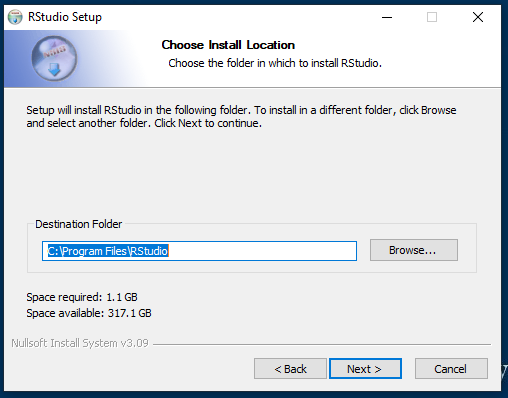
The install location page (Figure 1.15) confirms where on your computer it installs to. Like the other steps, this should be on your C: drive and be the default option. Just make sure it is not saving to a cloud drive like OneDrive or DropBox. Click
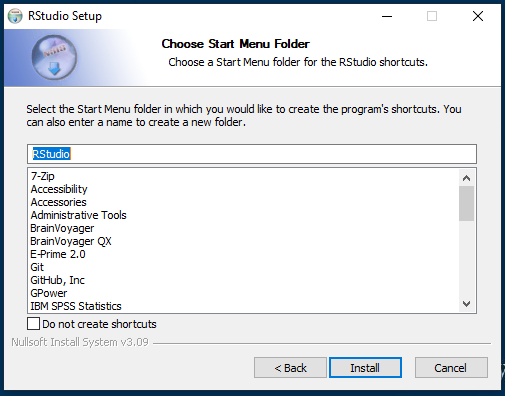
The start menu page (Figure 1.16) allows you to select where RStudio will appear on your start menu. The default will just be a folder called RStudio, so keep the default option. Click
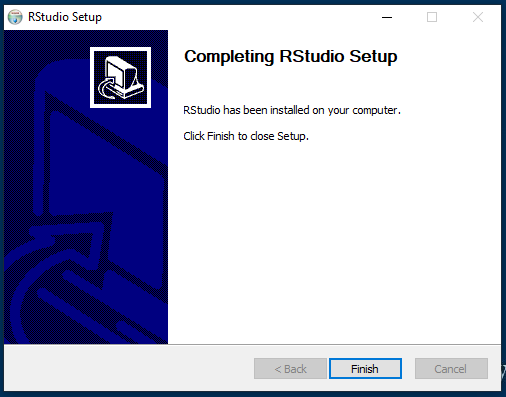
Depending on your computer, it will take a few seconds to a few minutes to successfully install RStudio (Figure 1.21). Click
If you have successfully installed R and RStudio, you should see a fresh RStudio window (Figure 1.22) when you open it from the RStudio folder in your start menu. So you can always find it, when you open RStudio for the first time by clicking on it’s blue and white R logo, right click and
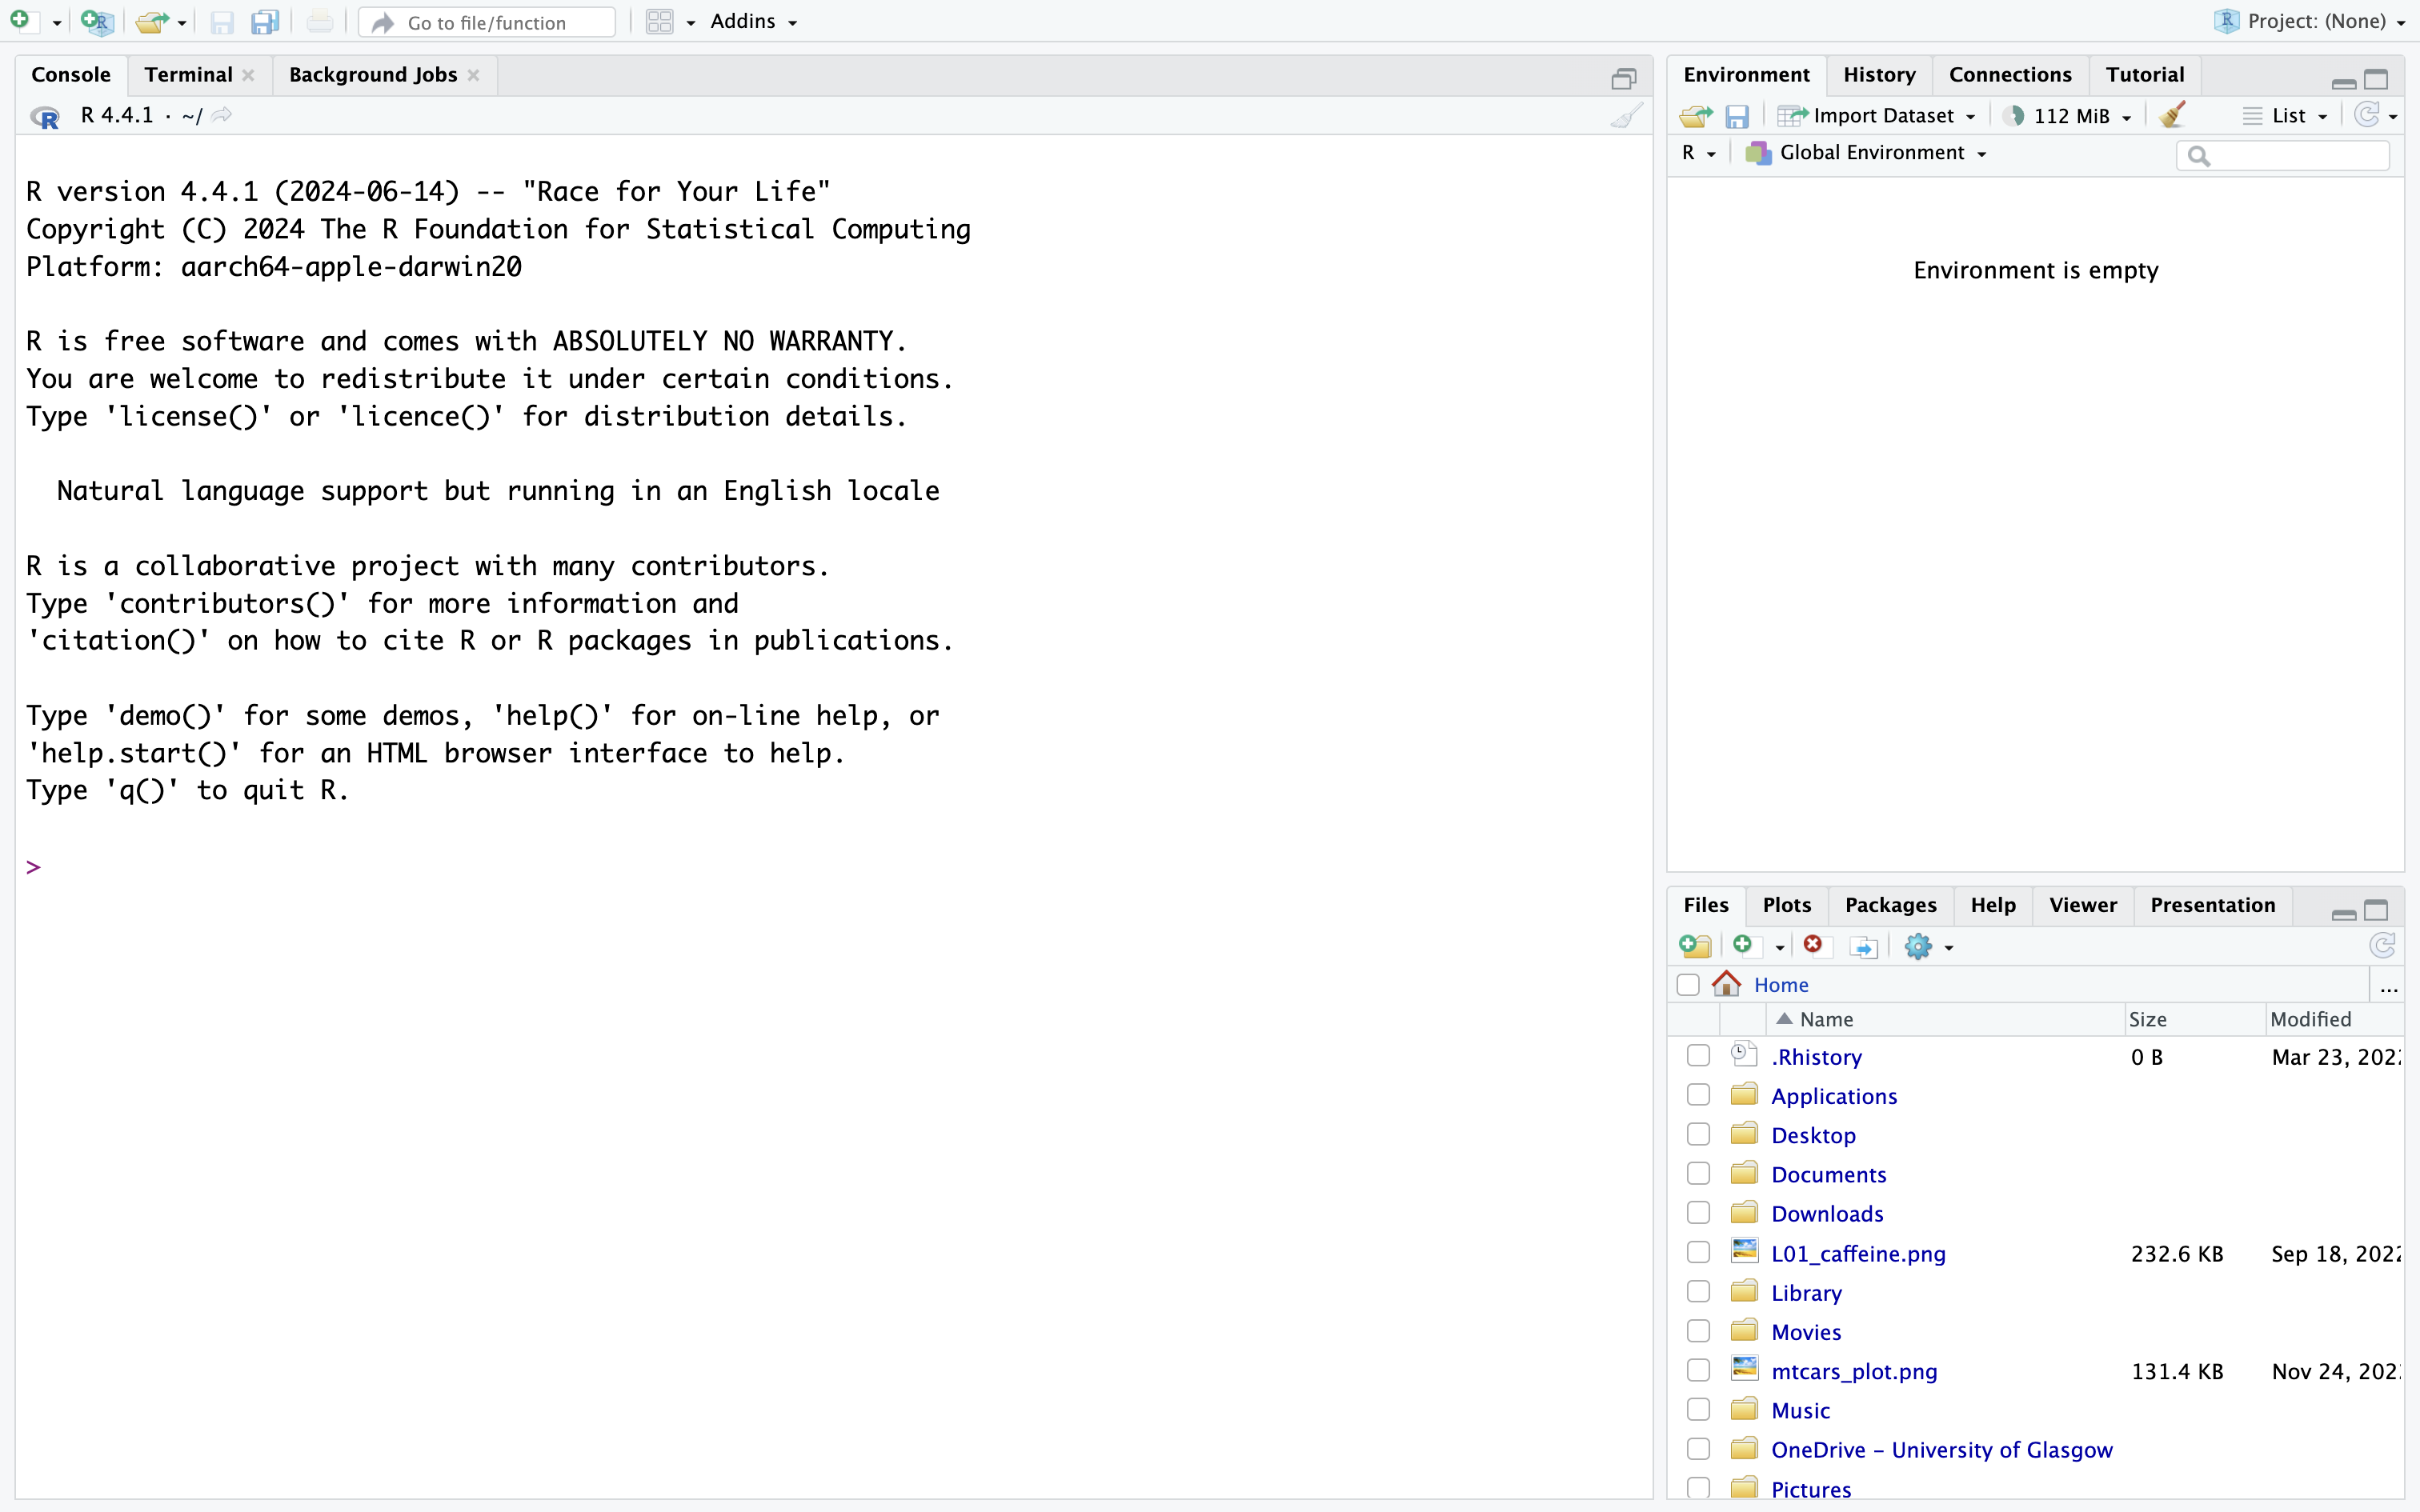
You are now ready to start working with R/RStudio from your course materials!
1.5 Getting help for installation problems
If you have any problems with installing R and R Studio on your computer, please attend the graduate teaching assistant support sessions for your course, speak to your course lead, or post on the Teams channel for your course/programme.